
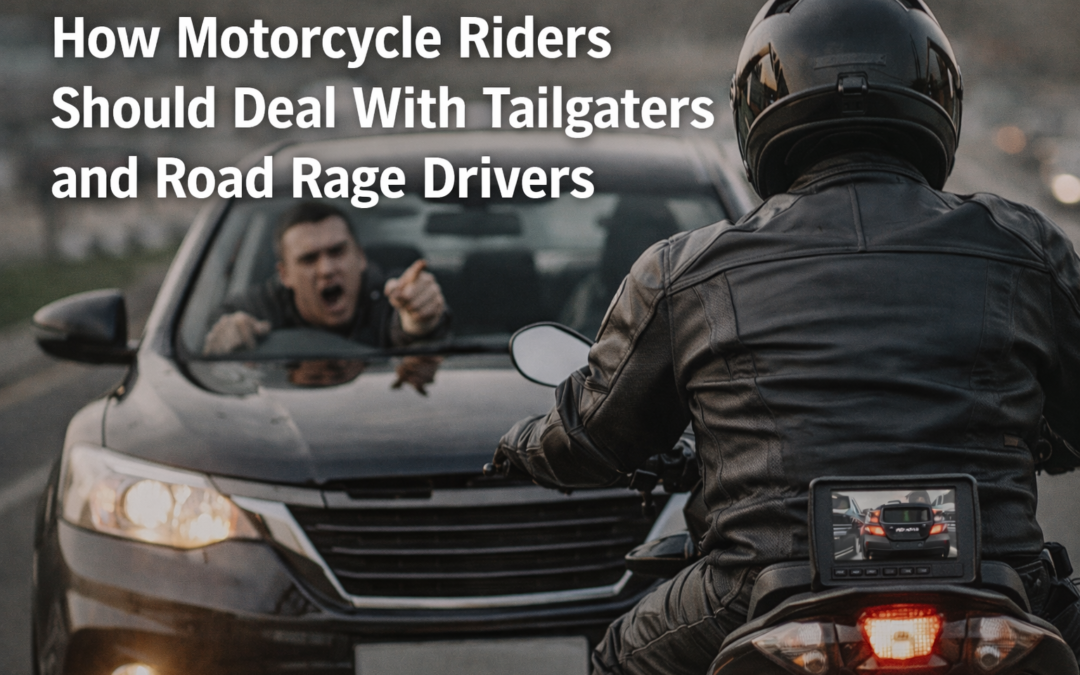
How Motorcycle Riders Should Deal With Tailgaters and Road Rage Drivers
If you ride a motorcycle long enough, you will eventually encounter it: the driver who follows too close, weaves behind you, flashes their headlights, or acts aggressively for no reason at all. Tailgaters and road-rage drivers are not just annoying—they are one of the...
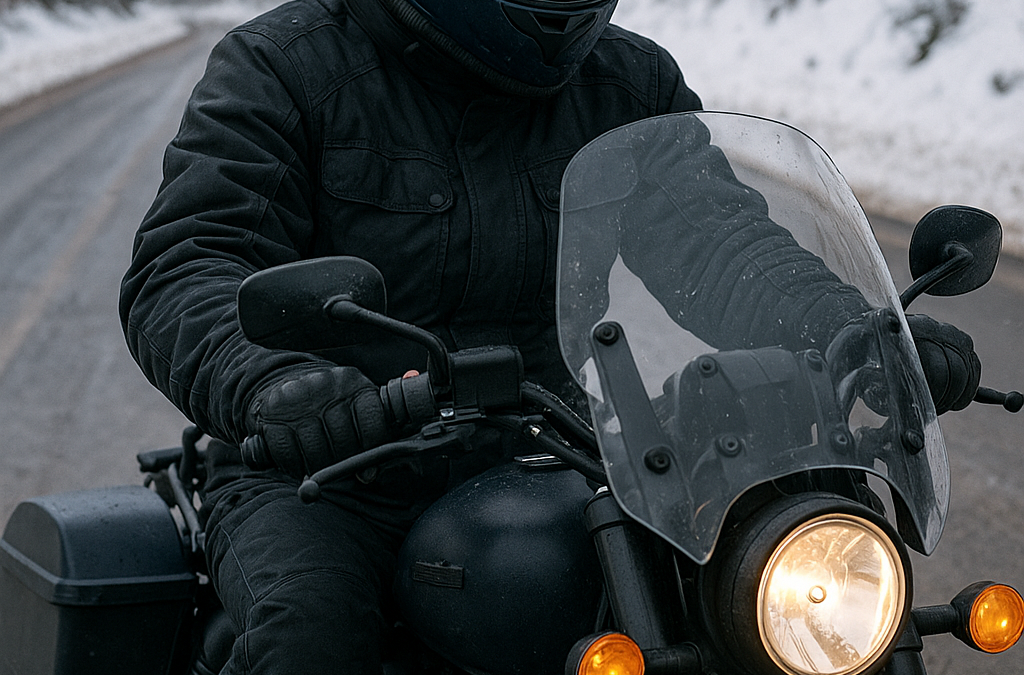
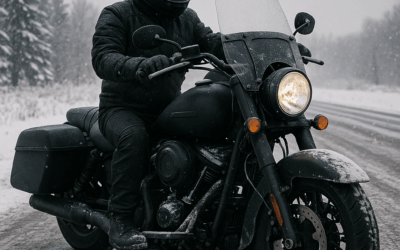
Riding Through the Cold: Gear Solutions for Cold and Extreme Cold Weather Motorcycling
Cold weather riding separates fair-weather riders from year-round motorcyclists. Whether you’re commuting, touring, or just refusing to let winter steal your seat time, riding in cold or extreme cold demands the right gear and smart layering. Wind chill at highway...

The Internet Experts on Motorcycle Clubs — And the Reality They Don’t Understand
By Norman Gregory Fernandez | Biker Law Blog If you spend any time on YouTube, podcasts, Reddit threads, or social media “news” channels, you’ll see it: self-appointed experts dissecting motorcycle club business as if they were embedded correspondents in the middle of...

Polaris Sells Majority Stake in Indian Motorcycle — What It Means for Riders
In a major development for the American motorcycling world, Polaris announced on October 13, 2025 that it will sell a majority stake in Indian Motorcycle to private-equity firm Carolwood LP, spinning the storied brand off into its own standalone company. Polaris —...
Riding Your Motorcycle in the Smoky Mountains: What Every Biker Should Know (Especially During Smoky Mountain Bike Week)
By Norman Gregory Fernandez, Esq.Biker Law Blog – https://bikerlawblog.com There are few places in America that ignite the soul of a biker quite like the Great Smoky Mountains. Towering ridgelines, cool mountain air, dense forests, and miles upon miles of twisting...
Biker and Motorcycle Law

How Motorcycle Riders Should Deal With Tailgaters and Road Rage Drivers
If you ride a motorcycle long enough, you will eventually encounter it: the driver who follows too close, weaves behind you, flashes their headlights, or acts aggressively for no reason at all. Tailgaters and road-rage drivers are not just annoying—they are one of the...

What to Do in the First 48 Hours After a Motorcycle Accident — A Guide for Riders and Their Loved Ones
What to Do in the First 48 Hours After a Motorcycle Accident — A Guide for Riders and Their Loved Ones By Norman Gregory Fernandez, Esq.The Biker Law Blog | https://bikerlawblog.com As a motorcycle accident attorney and rider myself, I’ve seen firsthand how critical...

The Devastating Effects of a Motorcycle Accident vs. a Car Accident – Why You Need a Biker Lawyer Who Rides Like You
The Devastating Effects of a Motorcycle Accident vs. a Car Accident – Why You Need a Biker Lawyer Who Rides Like YouBy Norman Gregory Fernandez, Esq. When it comes to traffic collisions, not all accidents are created equal. The difference between a motorcycle accident...
Motorcycle Safety
How Motorcycle Riders Should Deal With Tailgaters and Road Rage Drivers
If you ride a motorcycle long enough, you will eventually encounter it: the driver who follows too close, weaves behind you, flashes their headlights, or acts aggressively for no reason at all. Tailgaters and road-rage drivers are not just annoying—they are one of the...
Riding Through the Cold: Gear Solutions for Cold and Extreme Cold Weather Motorcycling
Cold weather riding separates fair-weather riders from year-round motorcyclists. Whether you’re commuting, touring, or just refusing to let winter steal your seat time, riding in cold or extreme cold demands the right gear and smart layering. Wind chill at highway...
Riding Your Motorcycle in Cold Weather: Hidden Dangers and Smart Gear Choices for Staying Warm and Alive
By Norman Gregory Fernandez, Esq., The Biker Lawyer As bikers, we live for the open road. There’s nothing like the feeling of two wheels beneath you, the sound of your engine, and the freedom that comes with riding—no matter the season. But as winter approaches and...
In The Wind
How Motorcycle Riders Should Deal With Tailgaters and Road Rage Drivers
If you ride a motorcycle long enough, you will eventually encounter it: the driver who follows too close, weaves behind you, flashes their headlights, or acts aggressively for no reason at all. Tailgaters and road-rage drivers are not just annoying—they are one of the...
Riding Through the Cold: Gear Solutions for Cold and Extreme Cold Weather Motorcycling
Cold weather riding separates fair-weather riders from year-round motorcyclists. Whether you’re commuting, touring, or just refusing to let winter steal your seat time, riding in cold or extreme cold demands the right gear and smart layering. Wind chill at highway...
Polaris Sells Majority Stake in Indian Motorcycle — What It Means for Riders
In a major development for the American motorcycling world, Polaris announced on October 13, 2025 that it will sell a majority stake in Indian Motorcycle to private-equity firm Carolwood LP, spinning the storied brand off into its own standalone company. Polaris —...

Riding Your Motorcycle in the Smoky Mountains: What Every Biker Should Know (Especially During Smoky Mountain Bike Week)
By Norman Gregory Fernandez, Esq.Biker Law Blog – https://bikerlawblog.com There are few places in America that ignite the soul of a biker quite like the Great Smoky Mountains. Towering ridgelines, cool mountain air, dense forests, and miles upon miles of twisting...
LATEST NEWS

The Internet Experts on Motorcycle Clubs — And the Reality They Don’t Understand
By Norman Gregory Fernandez | Biker Law Blog If you spend any time on YouTube, podcasts, Reddit threads, or social media “news” channels, you’ll see it: self-appointed experts dissecting motorcycle club business as if they were embedded correspondents in the middle of...
How Motorcycle Riders Should Deal With Tailgaters and Road Rage Drivers
If you ride a motorcycle long enough, you will eventually encounter it: the driver who follows too close, weaves behind you, flashes their headlights, or acts aggressively for no reason at all. Tailgaters and road-rage drivers are not just annoying—they are one of the...
Riding Through the Cold: Gear Solutions for Cold and Extreme Cold Weather Motorcycling
Cold weather riding separates fair-weather riders from year-round motorcyclists. Whether you’re commuting, touring, or just refusing to let winter steal your seat time, riding in cold or extreme cold demands the right gear and smart layering. Wind chill at highway...
Polaris Sells Majority Stake in Indian Motorcycle — What It Means for Riders
In a major development for the American motorcycling world, Polaris announced on October 13, 2025 that it will sell a majority stake in Indian Motorcycle to private-equity firm Carolwood LP, spinning the storied brand off into its own standalone company. Polaris —...
Riding Your Motorcycle in the Smoky Mountains: What Every Biker Should Know (Especially During Smoky Mountain Bike Week)
By Norman Gregory Fernandez, Esq.Biker Law Blog – https://bikerlawblog.com There are few places in America that ignite the soul of a biker quite like the Great Smoky Mountains. Towering ridgelines, cool mountain air, dense forests, and miles upon miles of twisting...
Riding Your Motorcycle in Cold Weather: Hidden Dangers and Smart Gear Choices for Staying Warm and Alive
By Norman Gregory Fernandez, Esq., The Biker Lawyer As bikers, we live for the open road. There’s nothing like the feeling of two wheels beneath you, the sound of your engine, and the freedom that comes with riding—no matter the season. But as winter approaches and...

The Major Causes of Motorcycle Accidents in the USA and How to Prevent Them
The Major Causes of Motorcycle Accidents in the USA and How to Prevent Them By Norman Gregory Fernandez, Esq.The Biker Law Blog | www.bikerlawblog.com As a lifelong biker and an attorney who has represented motorcycle accident victims for nearly three decades, I’ve...

When Is It Time to Stop Riding? A Deep Dive for Bikers
When Is It Time to Stop Riding? A Deep Dive for Bikers By Norman Gregory Fernandez, Esq.The Biker Law Blog | https://bikerlawblog.com Riding a motorcycle is more than a hobby—it’s a calling. But every journey has crossroads, and veteran riders eventually wonder: when...
FOLLOW US
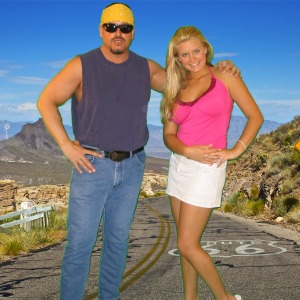
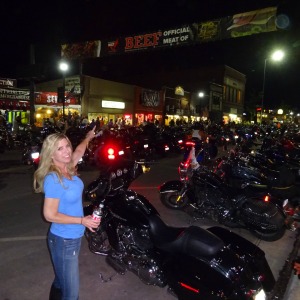
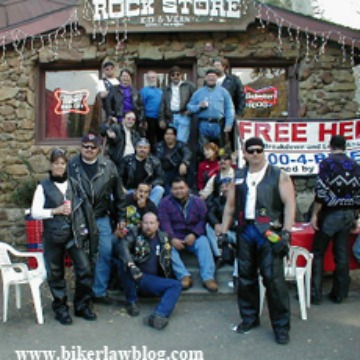
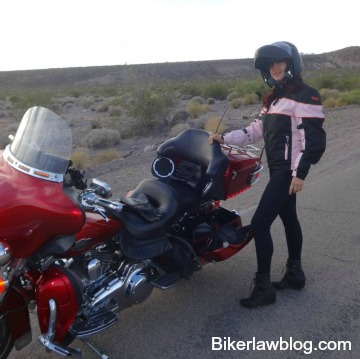
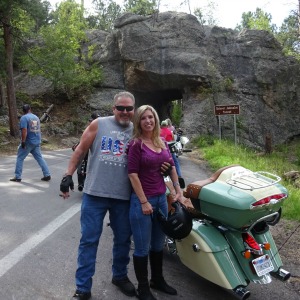
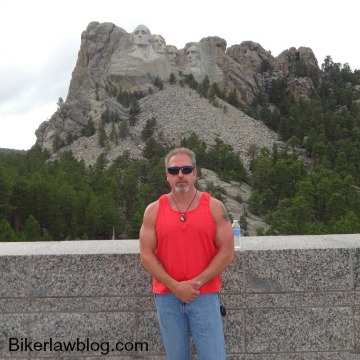
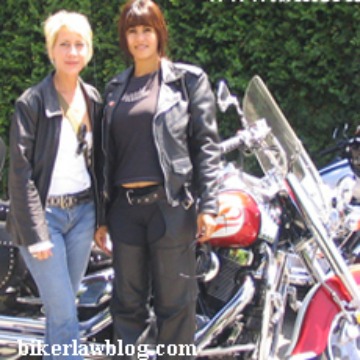
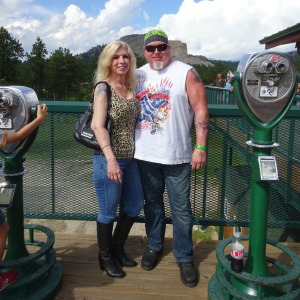
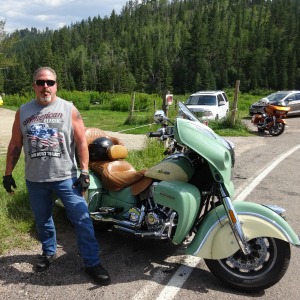
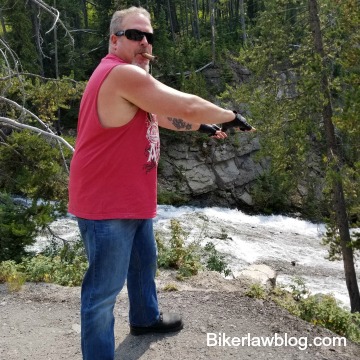
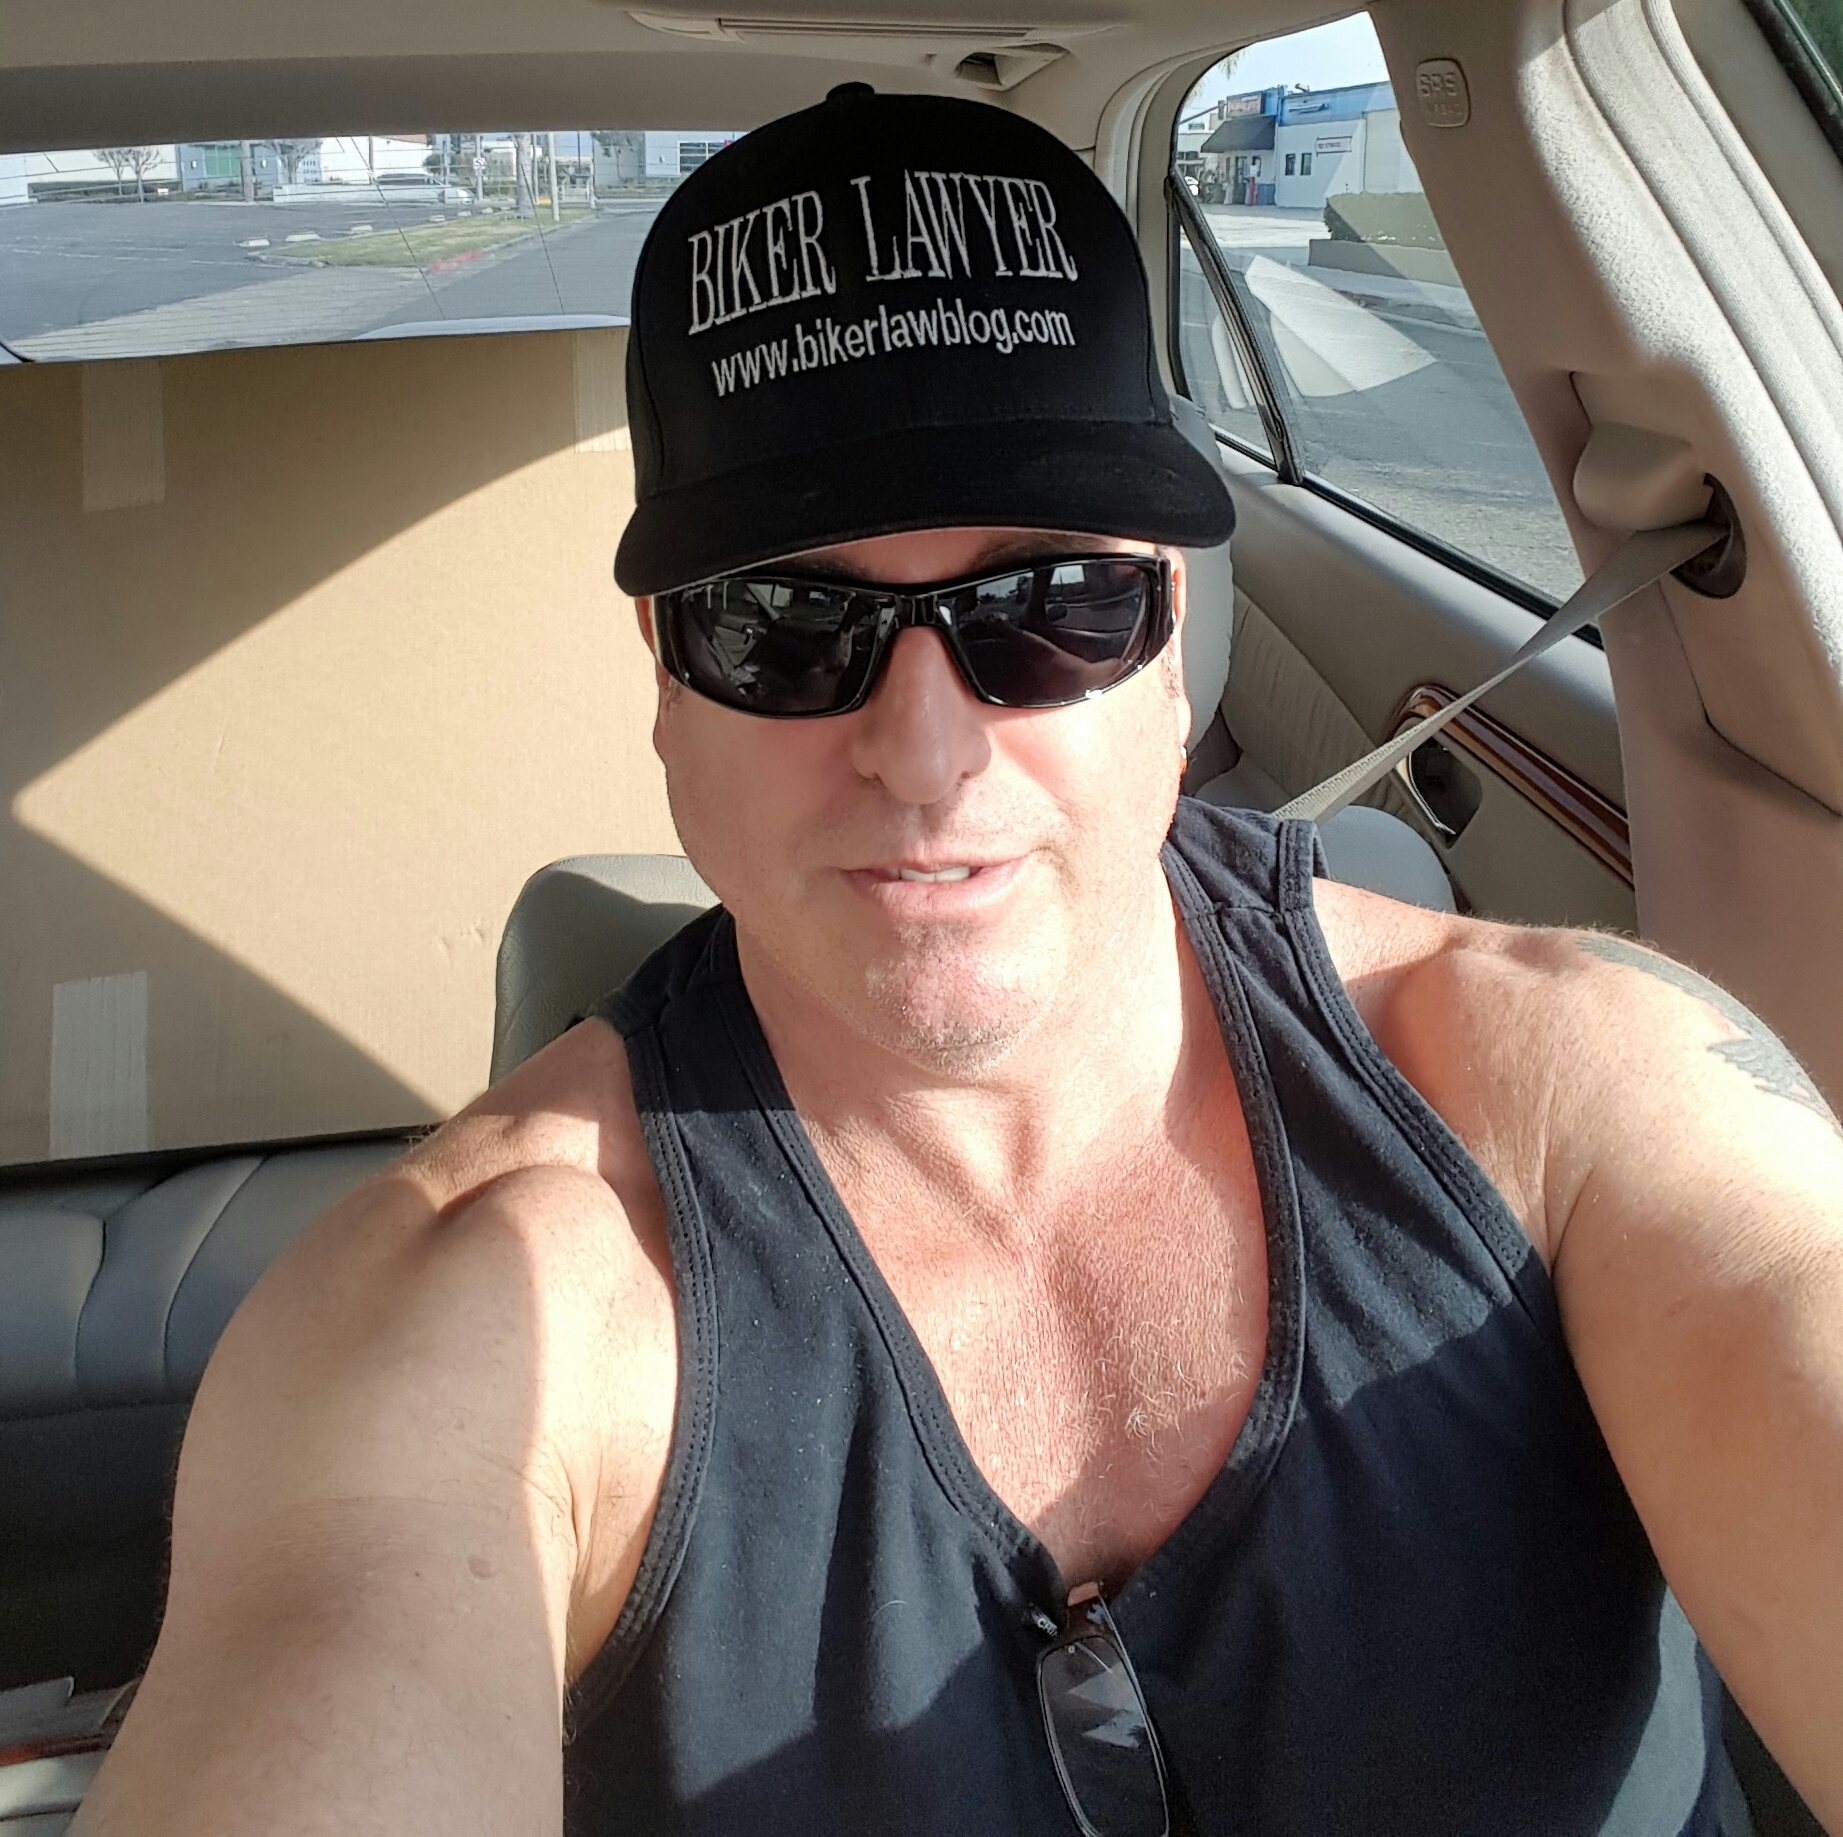
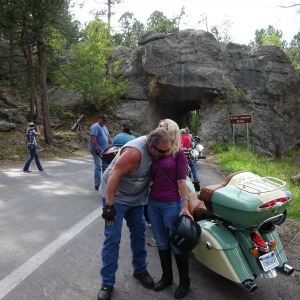
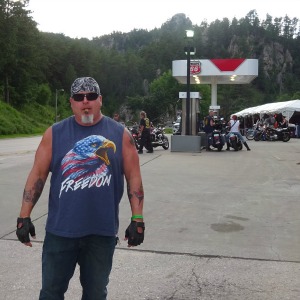
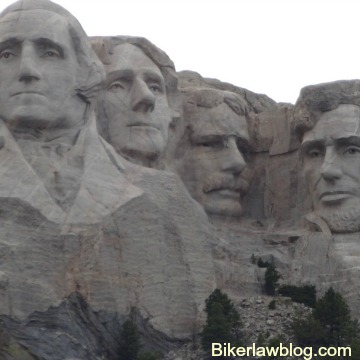
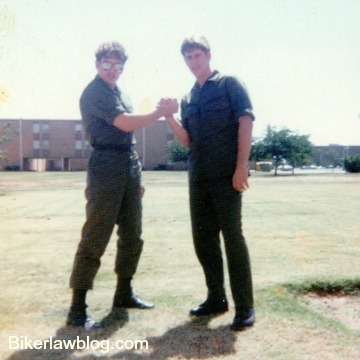
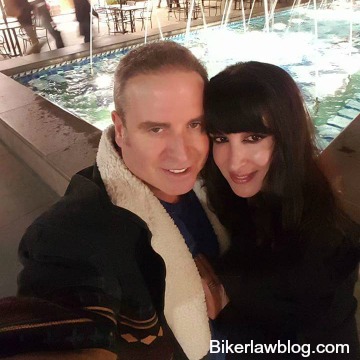
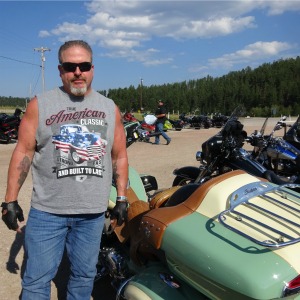
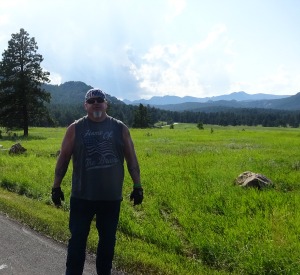
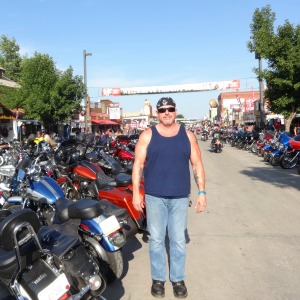
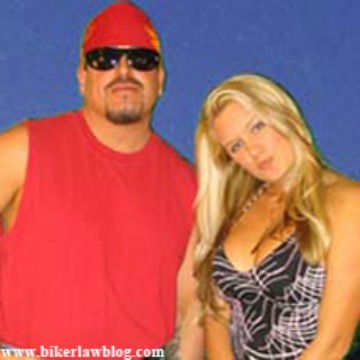
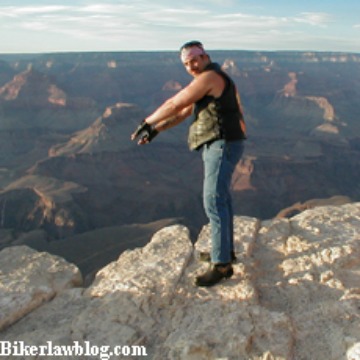
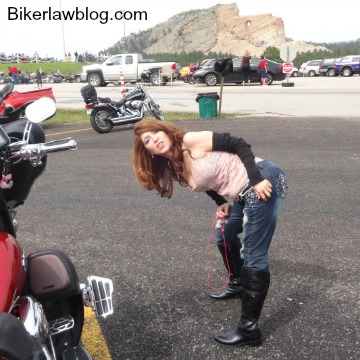
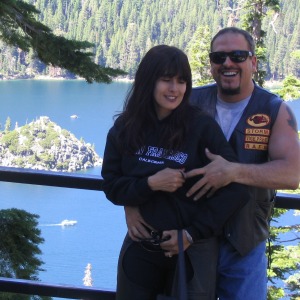
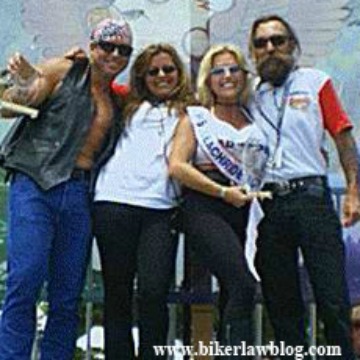
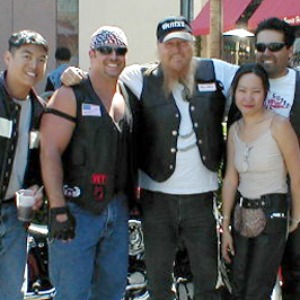
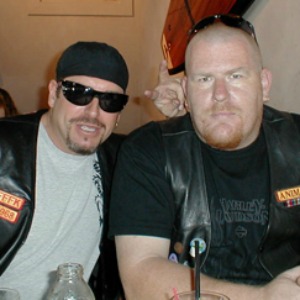
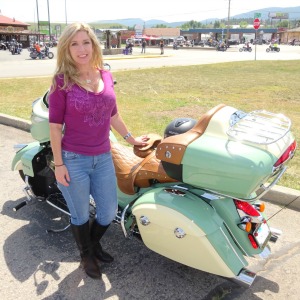
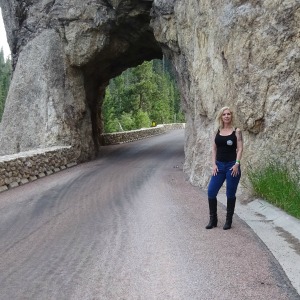
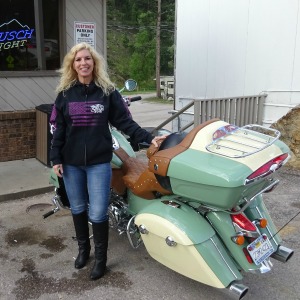
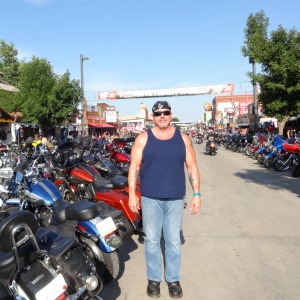
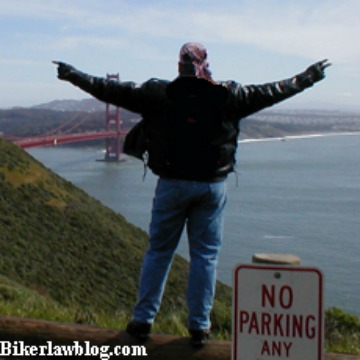
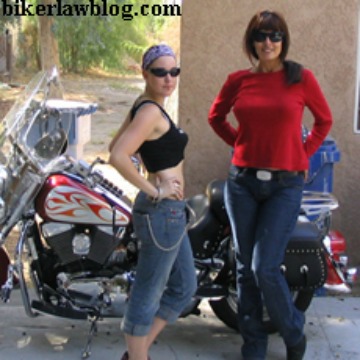
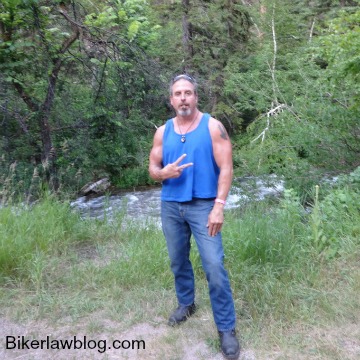
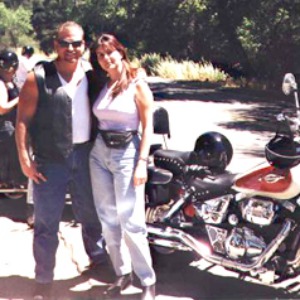
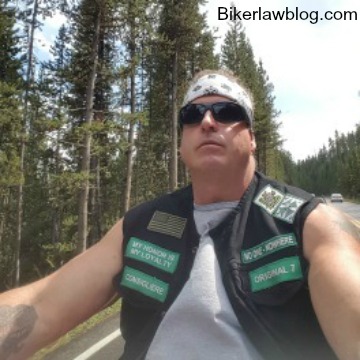
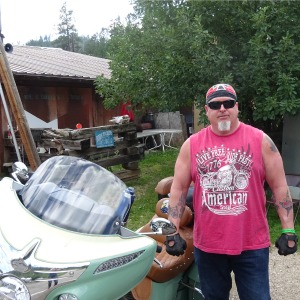
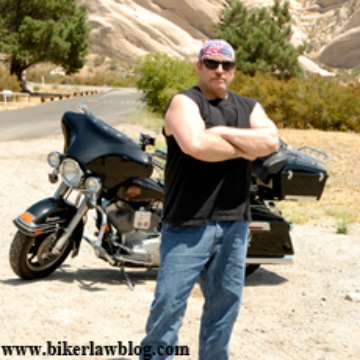
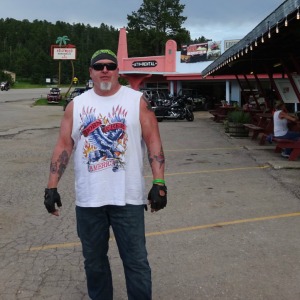
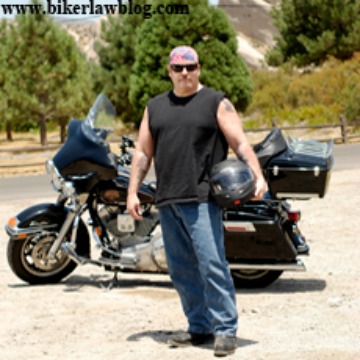
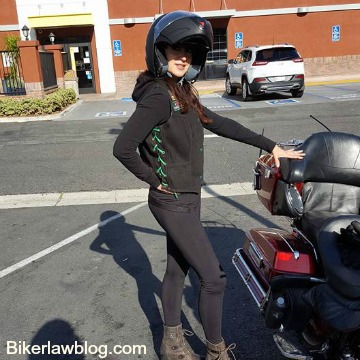
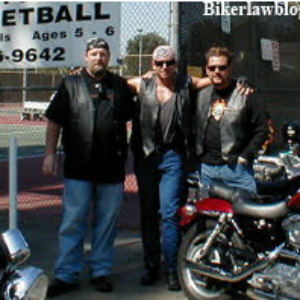
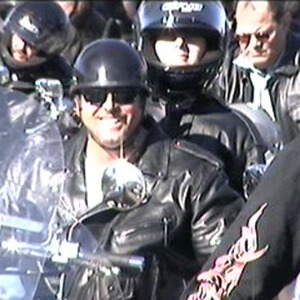
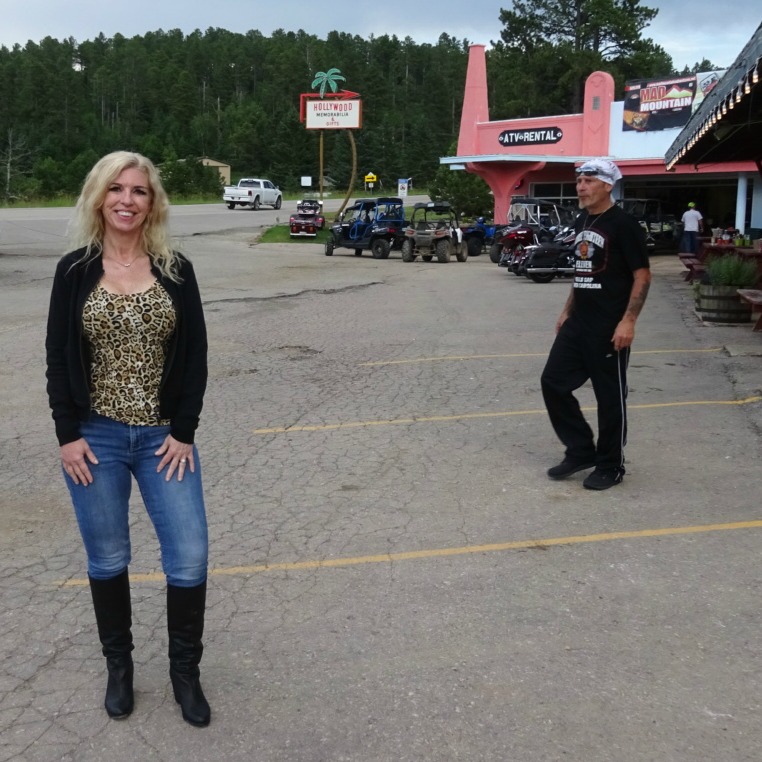
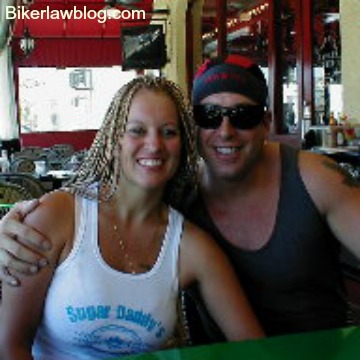
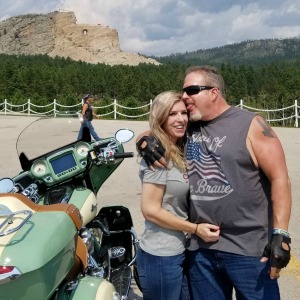
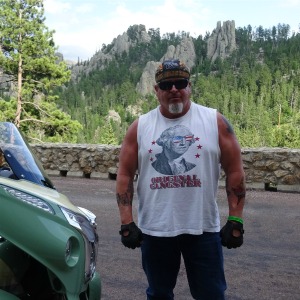
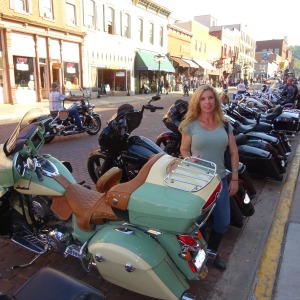
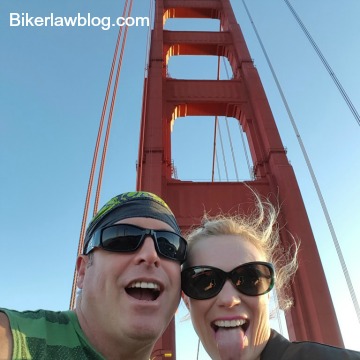
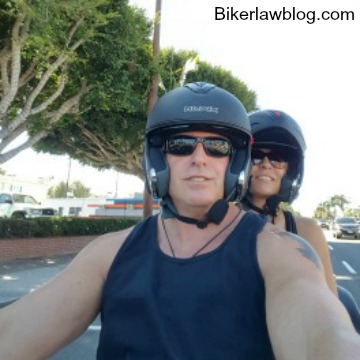
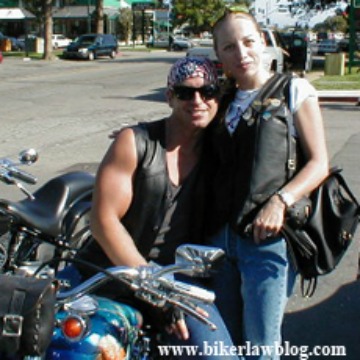
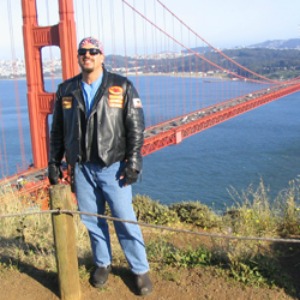
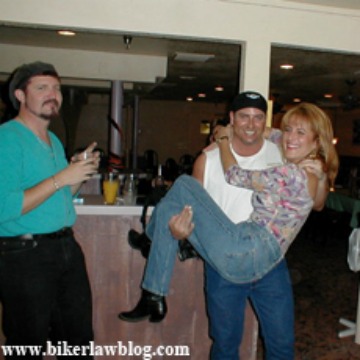
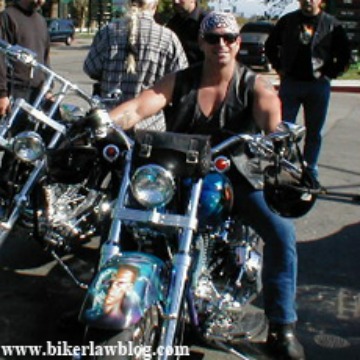
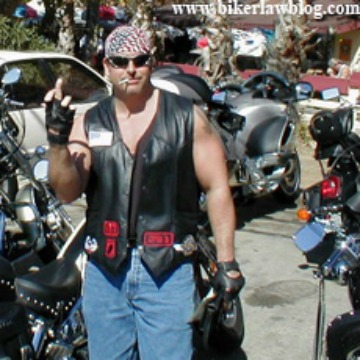
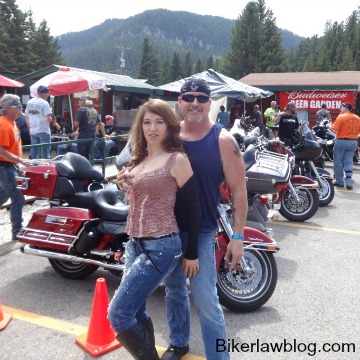
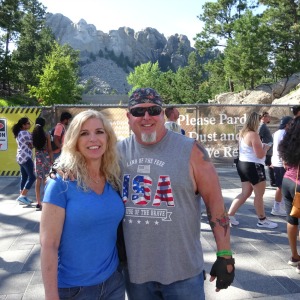
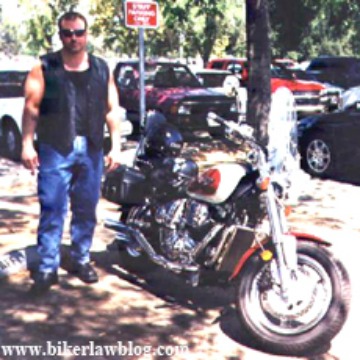
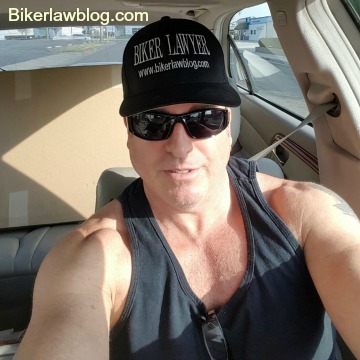
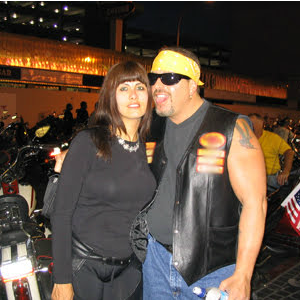
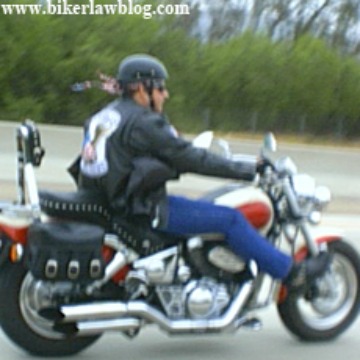
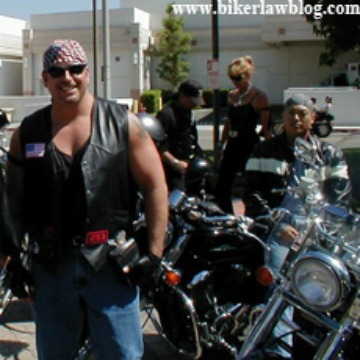
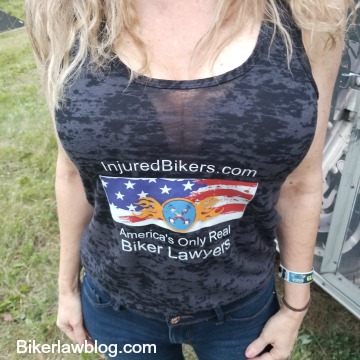
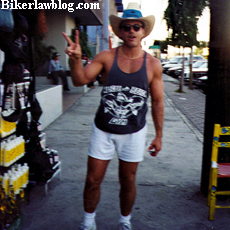
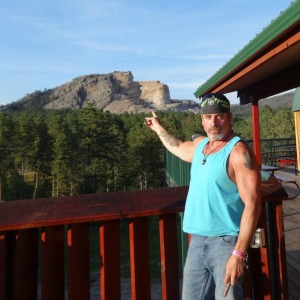
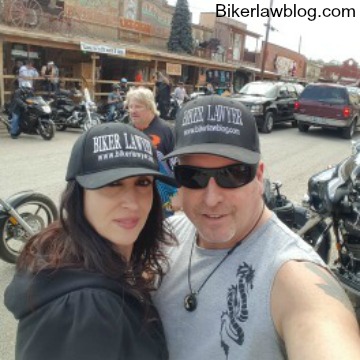
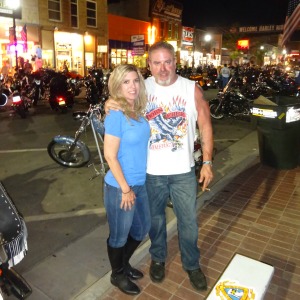
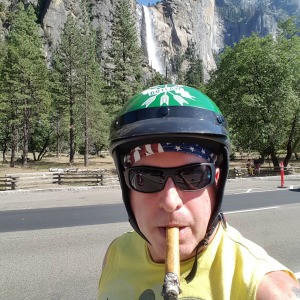
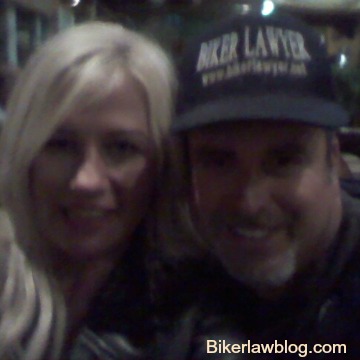
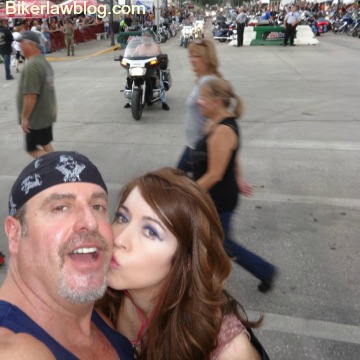
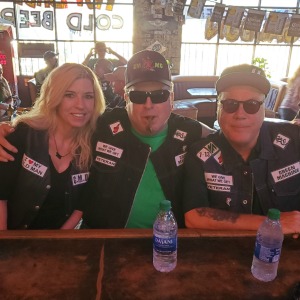
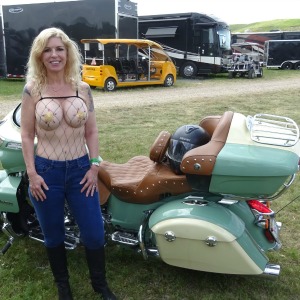
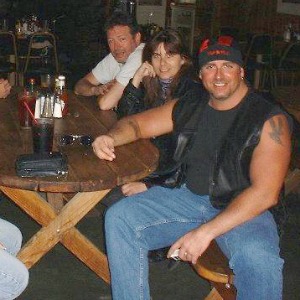
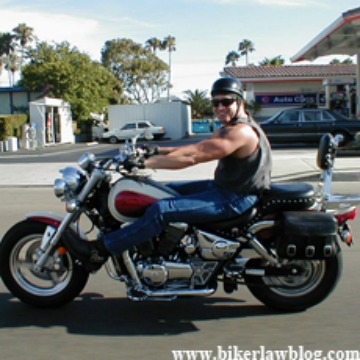
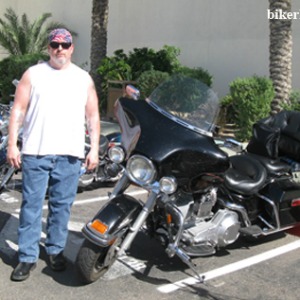
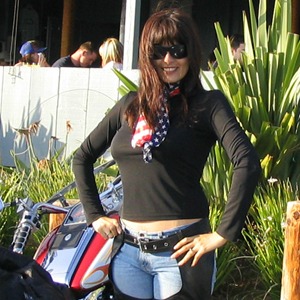
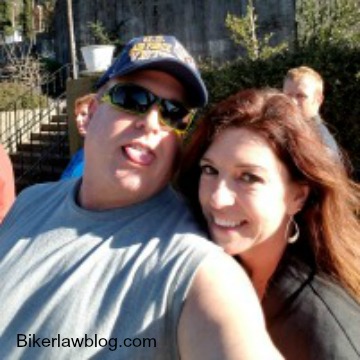
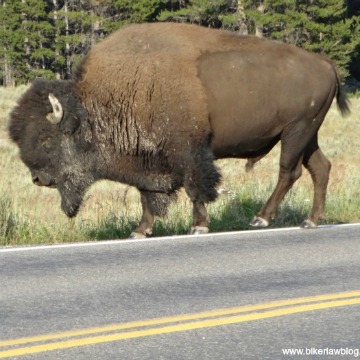
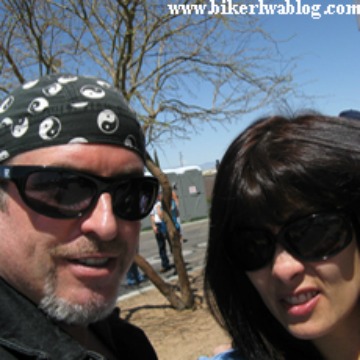
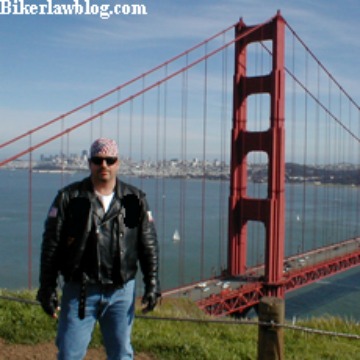
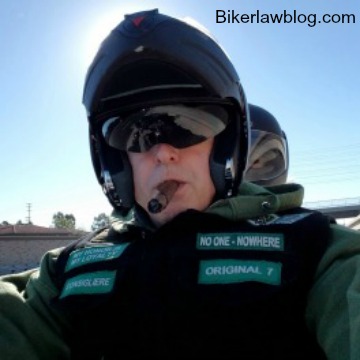
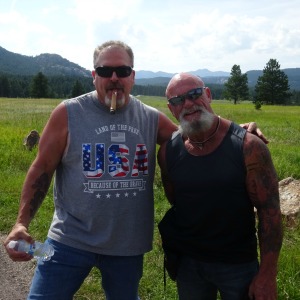
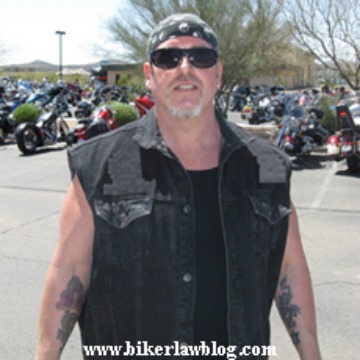
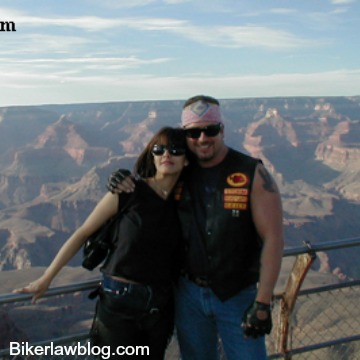
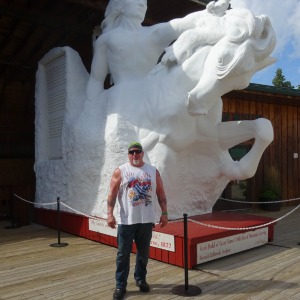
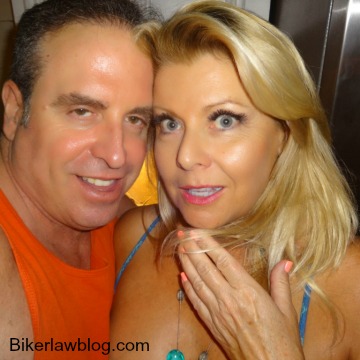
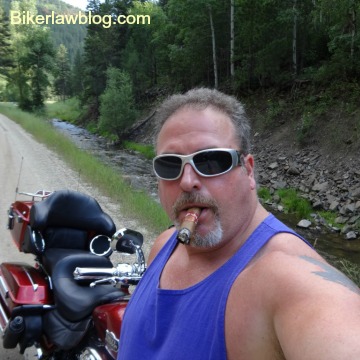
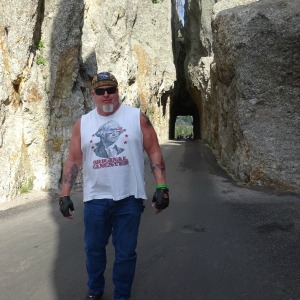
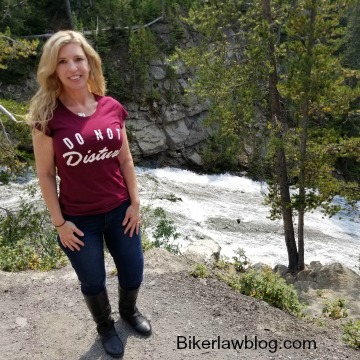
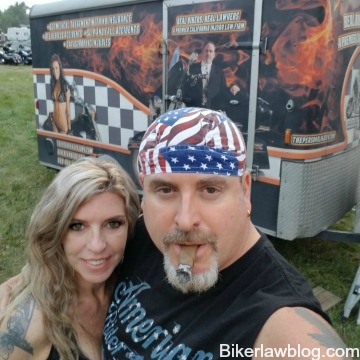
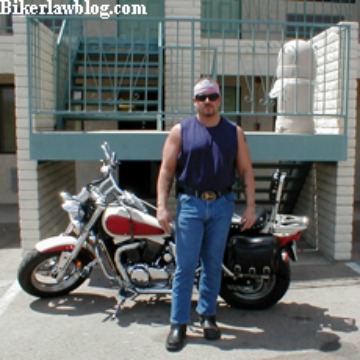
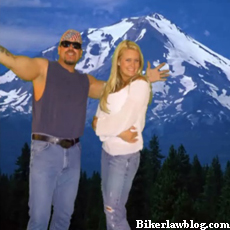
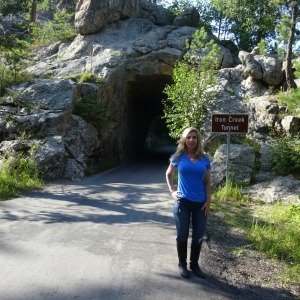
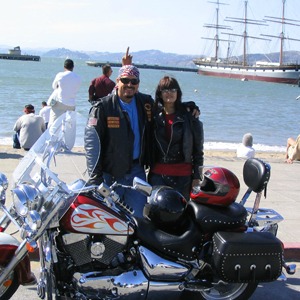
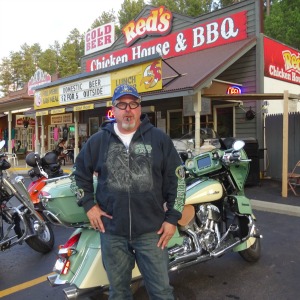
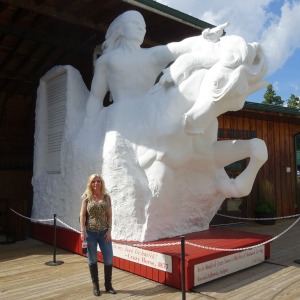
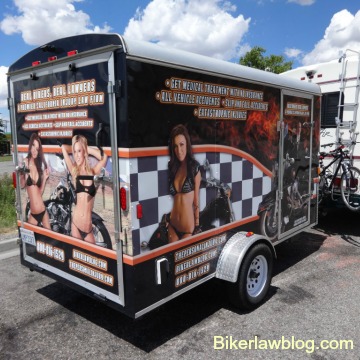
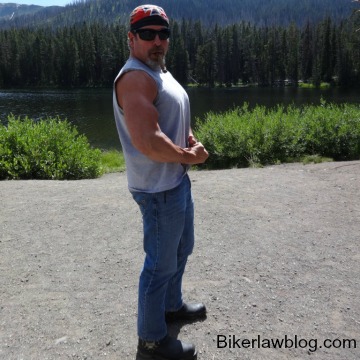
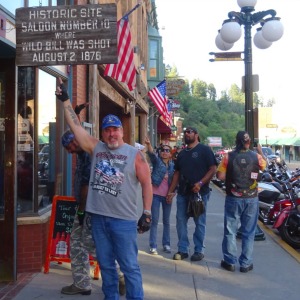
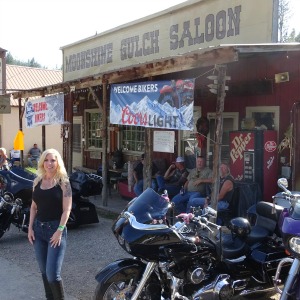
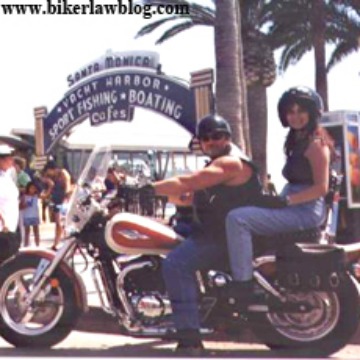
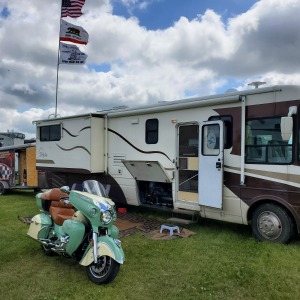
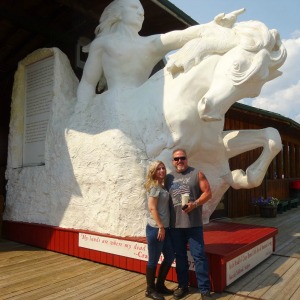
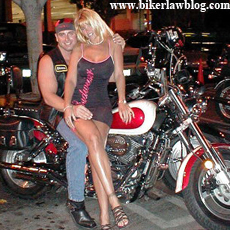
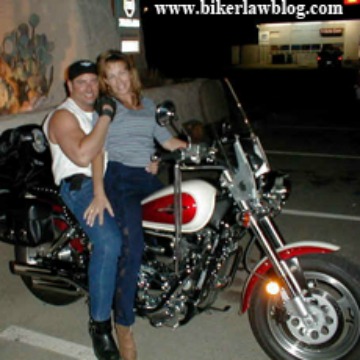
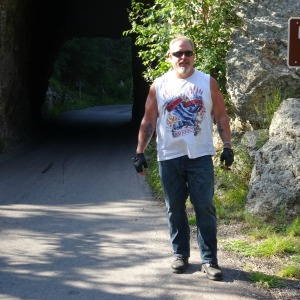
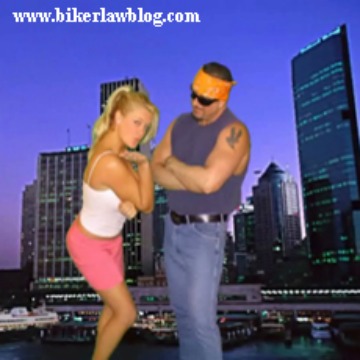
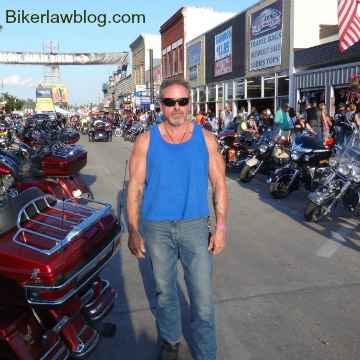
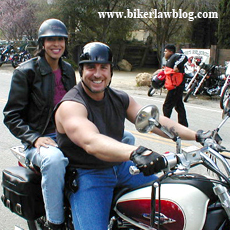
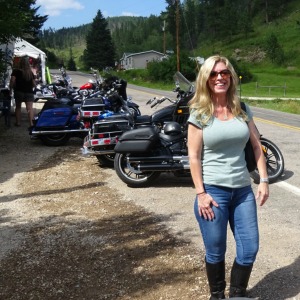
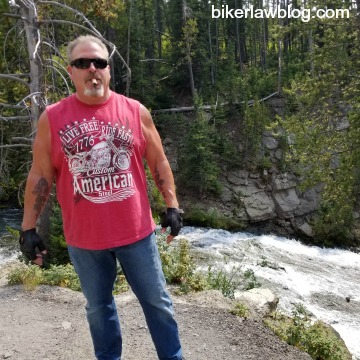
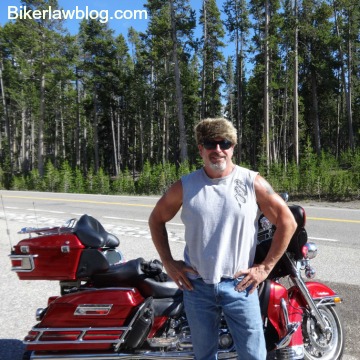
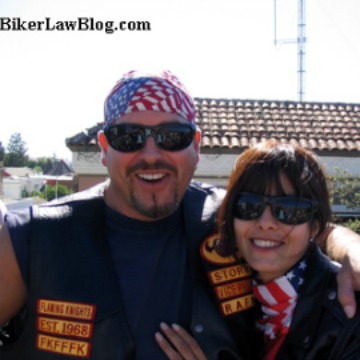
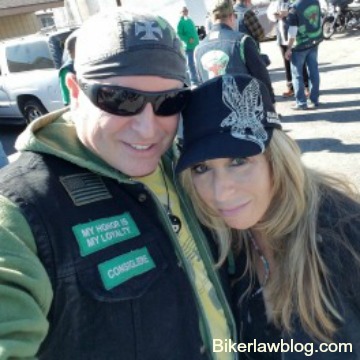
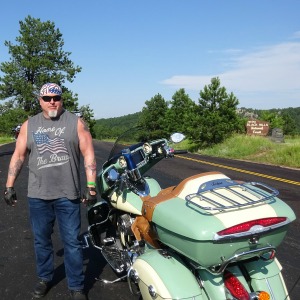
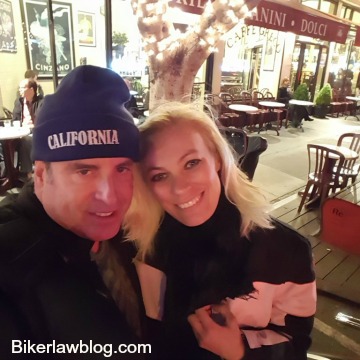
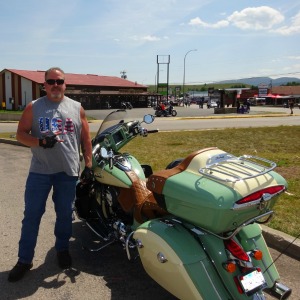
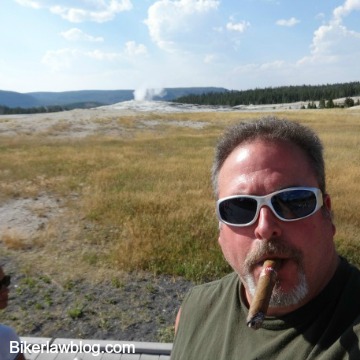
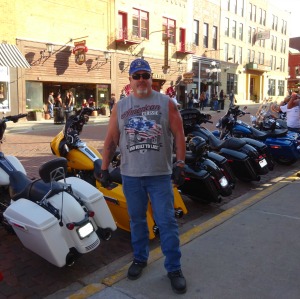
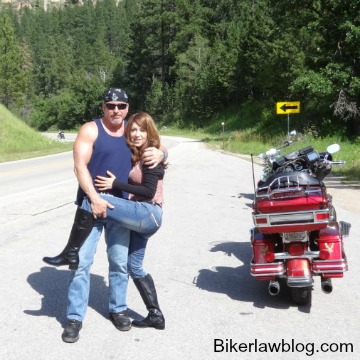
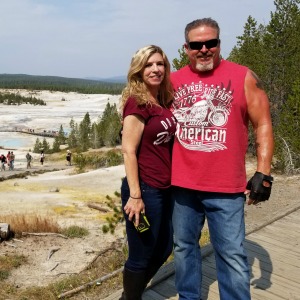
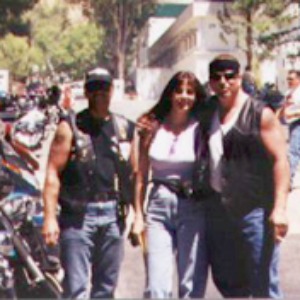
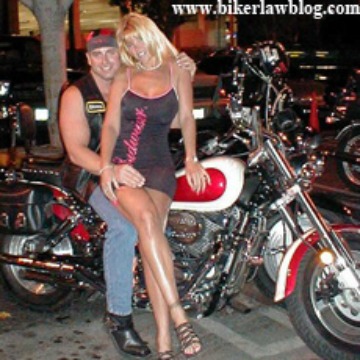
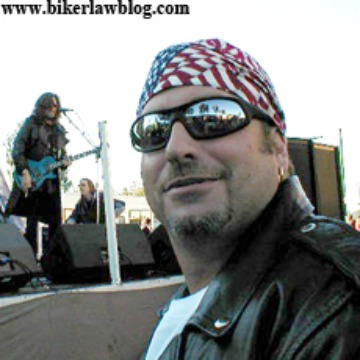
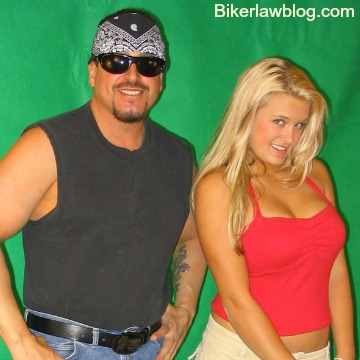
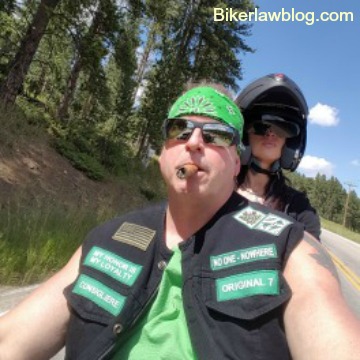
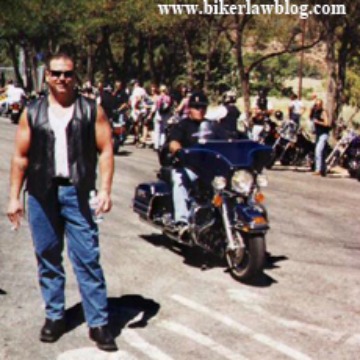
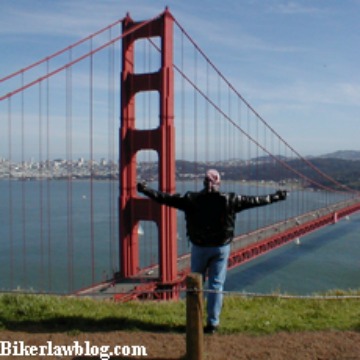
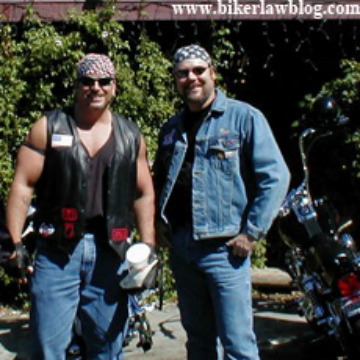
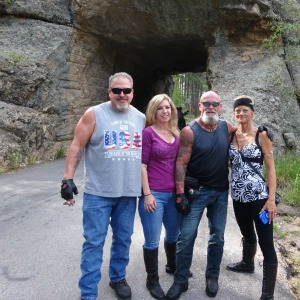
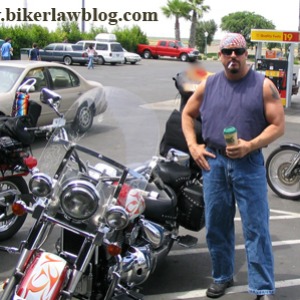
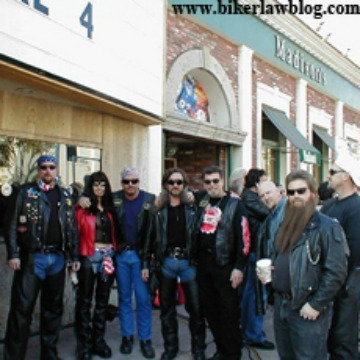
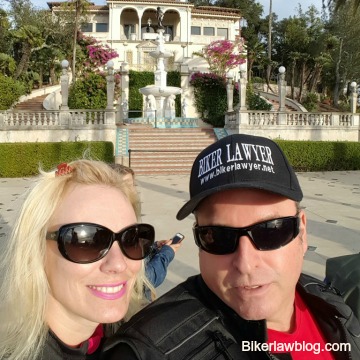
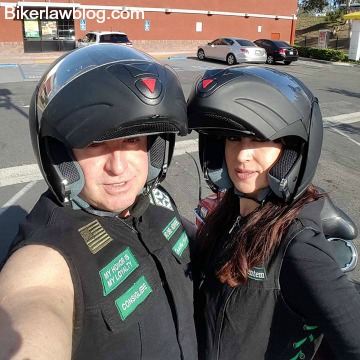
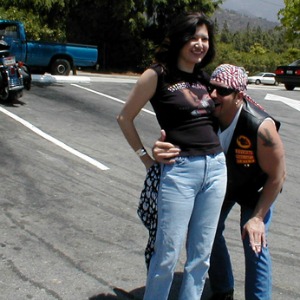
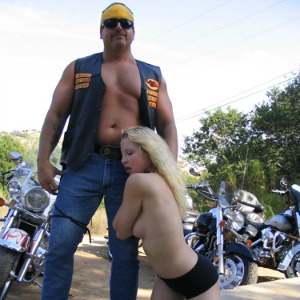
Biker Lawyer’s Random Images


If you have been in a Motorcycle Accident ANYWHERE in The State of California, call me now 24 hours per day, 7 days a week, for a free consultation at 800-816-1529), Extension 1.
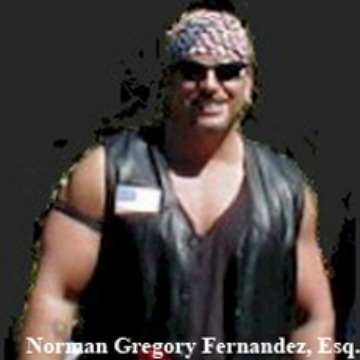
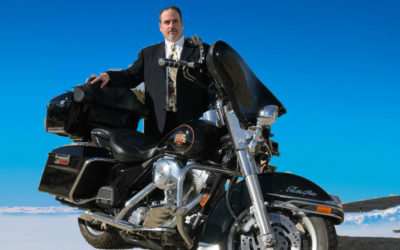
 Welcome, my name is Norman Gregory Fernandez, Esq. I am a real biker, and a real California Biker and Motorcycle Lawyer. Click Here to find out more about me.
I created this site to provide information to the motorcycle and biker community, as well as general California Personal Injury, and Family Law Information to all.
On the Biker Law Blog you will find Biker and Motorcycle Legal Articles, News, Links, Safety Tips, Personal Injury, Family Law, and more.
If you wish to contact me or submit articles, you may do so by clicking on the Contact Us button above, or by clicking here now.
Contact Us Now
Videos

Happy Independence Day 2025
California Motorcycle Accident Victims: Get the Best Legal Help!
Hey there … if you’ve been injured in a motorcycle accident in California … listen up. I know how tough this time can be … not just physically but emotionally and financially too. That’s why you need someone who truly understands what you’re going through. Let me...

A Message of Hope during the Coronavirus Pandemic by Norman Gregory Fernandez, Esq.
https://youtu.be/yBhXfUqaywc We as human beings are in an uncertain time. The Covid -19 virus has caused a pandemic which has spread across the globe, and the United States. None of us in our lifetimes have experienced anything like this before. Many of us are...

Personal Injury News
How Motorcycle Riders Should Deal With Tailgaters and Road Rage Drivers
If you ride a motorcycle long enough, you will eventually encounter it: the driver who follows too close, weaves behind you, flashes their headlights, or acts aggressively for no reason at all. Tailgaters and road-rage drivers are not just annoying—they are one of the...
The Major Causes of Motorcycle Accidents in the USA and How to Prevent Them
The Major Causes of Motorcycle Accidents in the USA and How to Prevent Them By Norman Gregory Fernandez, Esq.The Biker Law Blog | www.bikerlawblog.com As a lifelong biker and an attorney who has represented motorcycle accident victims for nearly three decades, I’ve...
When Is It Time to Stop Riding? A Deep Dive for Bikers
When Is It Time to Stop Riding? A Deep Dive for Bikers By Norman Gregory Fernandez, Esq.The Biker Law Blog | https://bikerlawblog.com Riding a motorcycle is more than a hobby—it’s a calling. But every journey has crossroads, and veteran riders eventually wonder: when...
What to Do in the First 48 Hours After a Motorcycle Accident — A Guide for Riders and Their Loved Ones
What to Do in the First 48 Hours After a Motorcycle Accident — A Guide for Riders and Their Loved Ones By Norman Gregory Fernandez, Esq.The Biker Law Blog | https://bikerlawblog.com As a motorcycle accident attorney and rider myself, I’ve seen firsthand how critical...